Composting 101
Posted on Tuesday Sep 21, 2021 at 01:43PM in Gardening
Composting 101
Consider placement of the compost pile carefully. It should be convenient to add to the pile and must have easy access for watering, turning and removal of the compost. Drainage must also be considered. Be sure water won’t pool around it – compost should be kept only about as wet as a wrung-out sponge.
To ensure that there is enough air for the microbes to work, turn the pile every week or so with a pitchfork or shovel. This may slow the process in the center temporarily, but you will have much better results with the entire compost. You may want to add sticks or poke holes in the pile with a pole to ensure that it is aerated.
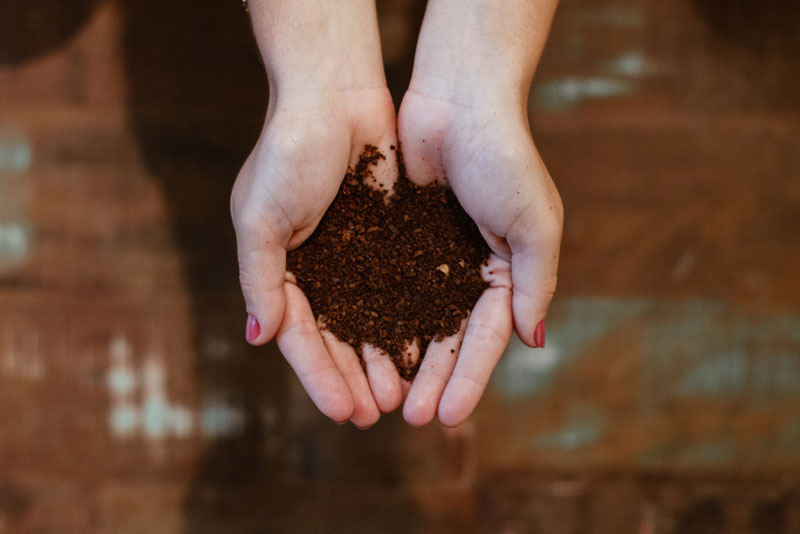
“Food” for the compost (nitrogen and carbon) comes from green and brown organic matter. The “green” (nitrogen) is usually moist or wet materials and the “brown” (carbon) is the source of energy for the microbes and is dry and bulky materials which may need to be watered when added into the compost.
Recommended Compostable Materials
| "Brown" (high in carbon) | "Green" (high in nitrogen) |
| Corncobs | Bread & Pastas |
| Corn Stalks | Coffee Grounds & Tea Bags |
| Dry Weeds | Eggshells |
| Fallen Leaves | Fruit Scraps |
| Hay and Straw | Grain Waste |
| Nutshells | Grass Clippings |
| Pine Needles | Green Weeds |
| Sawdust (not from treated wood) | Hair (pet and human) |
| Twigs and Branches (dry) | Manure |
| Vegetable Stalks | Seaweed (rinsed) |
| Vegetable Scraps |
Do not add pet or human waste, diseased plants, meat scraps, bones, grease, fat, coal ashes from the grill or dairy products to your compost. “When in doubt – leave it out!”
The minimum size for a compost pile is three cubic feet. This size will allow for the microbes to heat up for a faster composting process. Begin with some branches and twigs to help with airflow. Mix about six inches of brown and two to three inches of green materials together and add a compost activator to start the process. Cover with approximately two inches of soil to control odors. Keep the center concave to reduce run-off. Sprinkle with water but don’t soak.
By chopping up kitchen scraps and woody material larger than ¼” in diameter before adding them, you will help speed up the decomposition process. Turn and sprinkle the pile with water once a week. When the pile is no longer hot and the materials are dark, crumbly and smell like rich soil with no odor, the compost is finished. The entire process takes approximately three to six months to complete.
If your compost is healthy, you shouldn’t have any problems with odor, flies, rodents or animals. When adding grass clippings, mix them in thoroughly so they don’t mat up. Too much moisture can make the compost rot rather than decompose. If you have large quantities of clippings, you may not want to add them all at one time. Bury food scraps 6-12” into the center to prevent flies.
San Lorenzo Lumber offers these quality products to ensure your composting is a success!
for turning and stirring:
Ask us about composters and composting activators
Tags: activators composters composting disposal microbes soil waste